

TaskClean gaskets
How oftenEvery month
Safe checkLook for crumbs
Clear airflow and clean door seals help a refrigerator run efficiently.

For a refrigerator, coil and seal care comes down to two things: keeping the door gaskets clean so they close tightly, and keeping dust off the condenser coils so the cooling system can shed heat. Wipe the gaskets with warm water, keep vents and the area around the cabinet clear, and follow your manual for the coils. If the refrigerator still runs warm or frosts up after that, book a diagnosis instead of working deeper.
Door seals and condenser dust get little attention until the refrigerator starts struggling, and no single symptom names a defective part. Begin with observations that are safe and repeatable, then keep them for any future Maytag service visit.
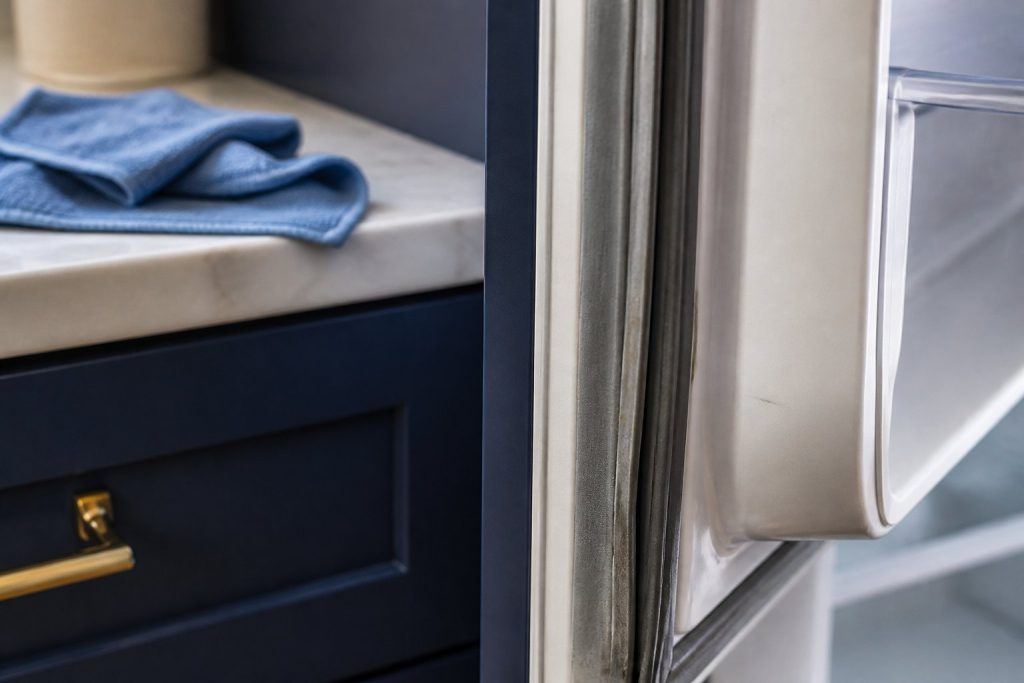
Wipe down the door gaskets, remove food from vents inside the cabinet, and brush loose dust from whatever part of the condenser area you can reach. Check with the refrigerator in its normal position and leave panels, fittings, and controls untouched. When a simple fix changes things, give it a normal stretch of operation before you judge.
Warm room air slipping past a grimy seal, or poor ventilation around the cabinet, makes a refrigerator labor. Observe when trouble appears: constantly, with a particular load or setting, or only after long running. Those details are far more useful than power-cycling the refrigerator repeatedly, and they point a technician toward the right area much sooner.
Maytag support explains that a door that does not seal well can cause frost, temperature swings, and even a door switch that does not actuate properly. Start with the simple things: confirm the doors were reinstalled correctly if they were ever removed, push bins fully in so they do not hold the door open, clean the gasket, and make sure the refrigerator is level. If the floor is uneven, a shim under the unit is an accepted fix.
One home test you will see online is closing a strip of paper in the door and feeling how much resistance it gives. Little resistance suggests the seal is loose at that spot. Treat it as a hint only, and compare several spots around the door.
The manual for your model governs its controls, filter location, and maintenance schedule. Work only on parts it calls user-serviceable, use cleaning products it recommends, and reinstall every removable component in its designed position.
Before another attempt, clear obstructions, lighten an overfull compartment, and make sure airflow around the cabinet and door clearance are not restricted. Skip repeated resets, which can bury an intermittent fault and leave water or heat sitting in the wrong place.
Wipe the door gaskets, clear food from interior vents, and keep the accessible condenser area free of loose dust.
Only if there is no burning smell, smoke, sparking, gas odor, water near electricity, or other safety warning. Otherwise stop and arrange service.
Book a diagnosis when the safe checks above do not resolve basic refrigerator care, or when the next step would require opening the appliance or testing internal parts.
Share a few details and we’ll confirm an appointment. Prefer to talk? Call us and we’ll help right away.